French Seams
Well, Lovelies, the first thing that I want to say is this: sewing a garment that will last a long time, and continue to bring pleasure for years takes time to do it right. You don't just throw things together and say... ah, that's good enough! You CAN do that for things like children's halloween costumes, that are only used for one night... Who cares if they stay together or not, later?
One thing that is always a temptation for me, is to leave seams unfinished... I don't like to use my serger (a whole nother issue!!!) and I dislike the look of zigzagging.... I don't have pinking shears, which really only work on things that are lined, anyway (though I'm gonna get some of those soon!) My favorite way to finish a seam is to use a French seam, which does take a little longer, but is really an economical use of your time and energy, and works really well on straight seams and fine fabrics.
Most patterns have a seam allowance of 5/8 inch.. this means that if you're using a french Seam on your garment, you first pin your garment WRONG sides together, and stitch 1/4 inch from your edge.
Then you trim your seam to 1/8 inch, you don't want little bits of your fabric getting caught in your next seam, and you don't want it to be bulky, so trim it, carefully... I usually put the seam on the left and trim from the right of it... I'm much more precise like that.
Then you press, first one way...
Then the other...
Then you turn the garment inside out and press the seam from that direction...
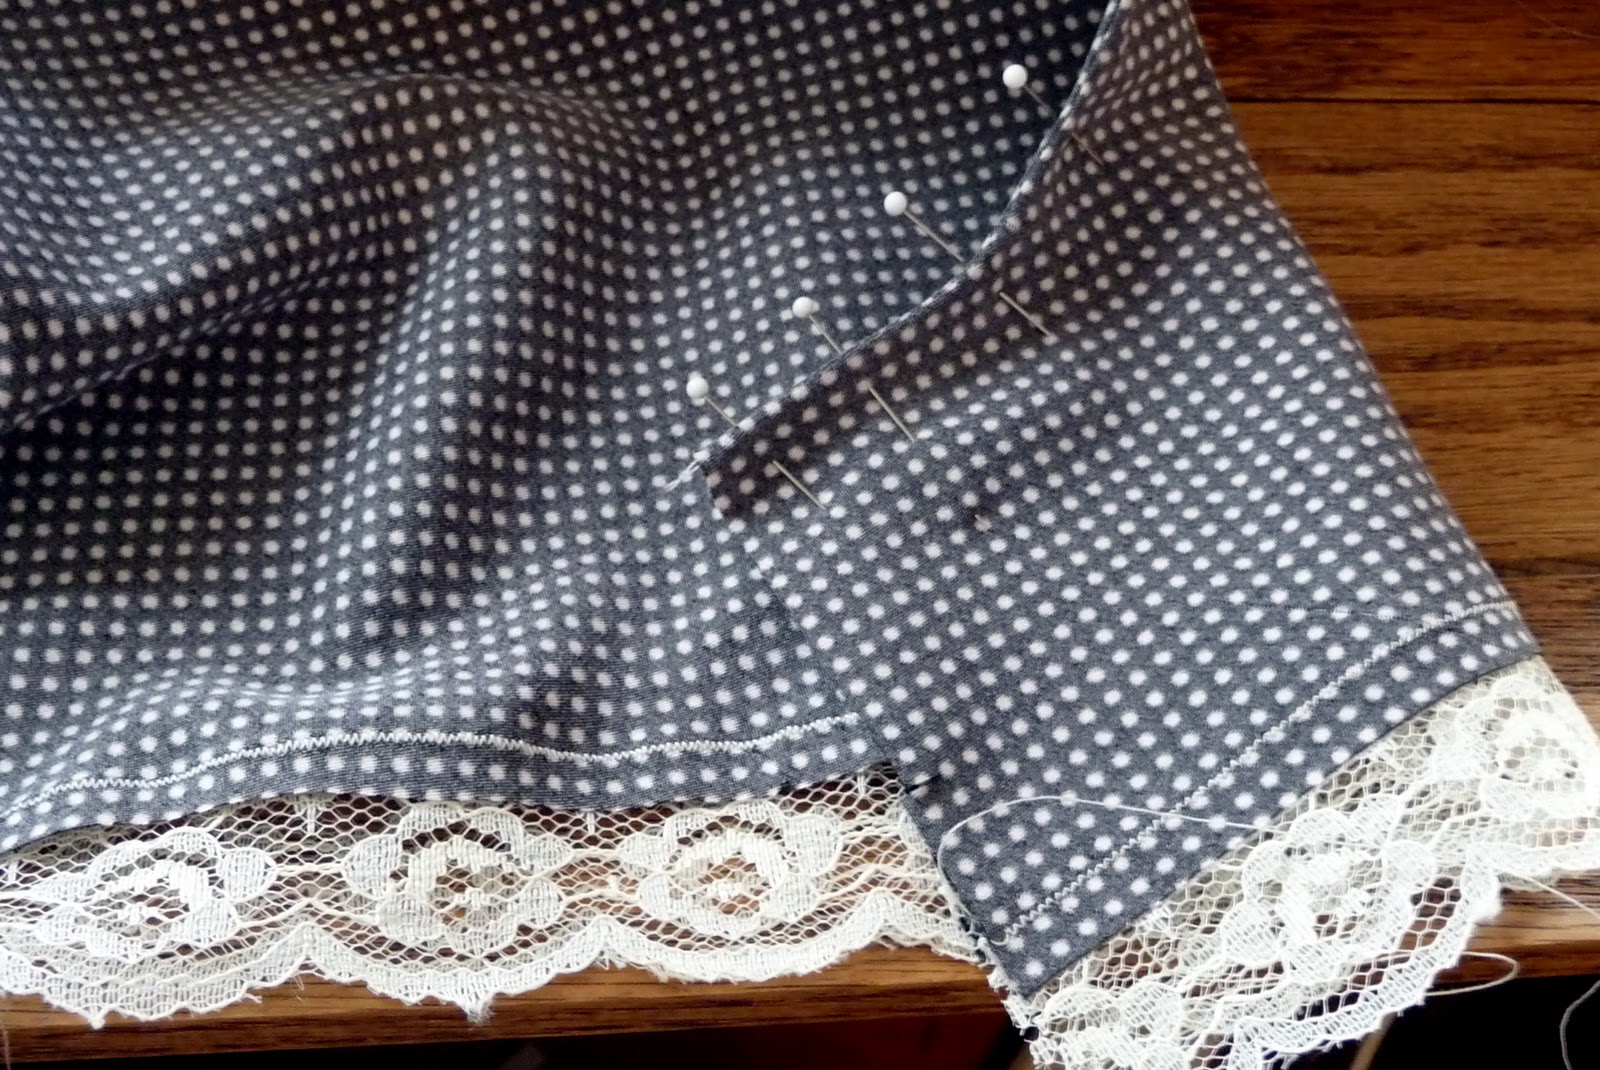
And then you press it folded at the seamline and pin it for sewing that same seam again...
Yes, you just pressed it four times. Pressing is sooooo important to sewing and one of the first mistakes novices make... press and press and press... your garment will look good longer, will look more professional, and will lie better on your body if you can manage to take the time to press it, correctly. Now... to do it properly you need a couple of tools I do not yet have... a tailor's ham and a sleeve roll, for curved seams and sleeves... I'll get to those eventually... So for now I just do the VERY best I can with the tools I have.
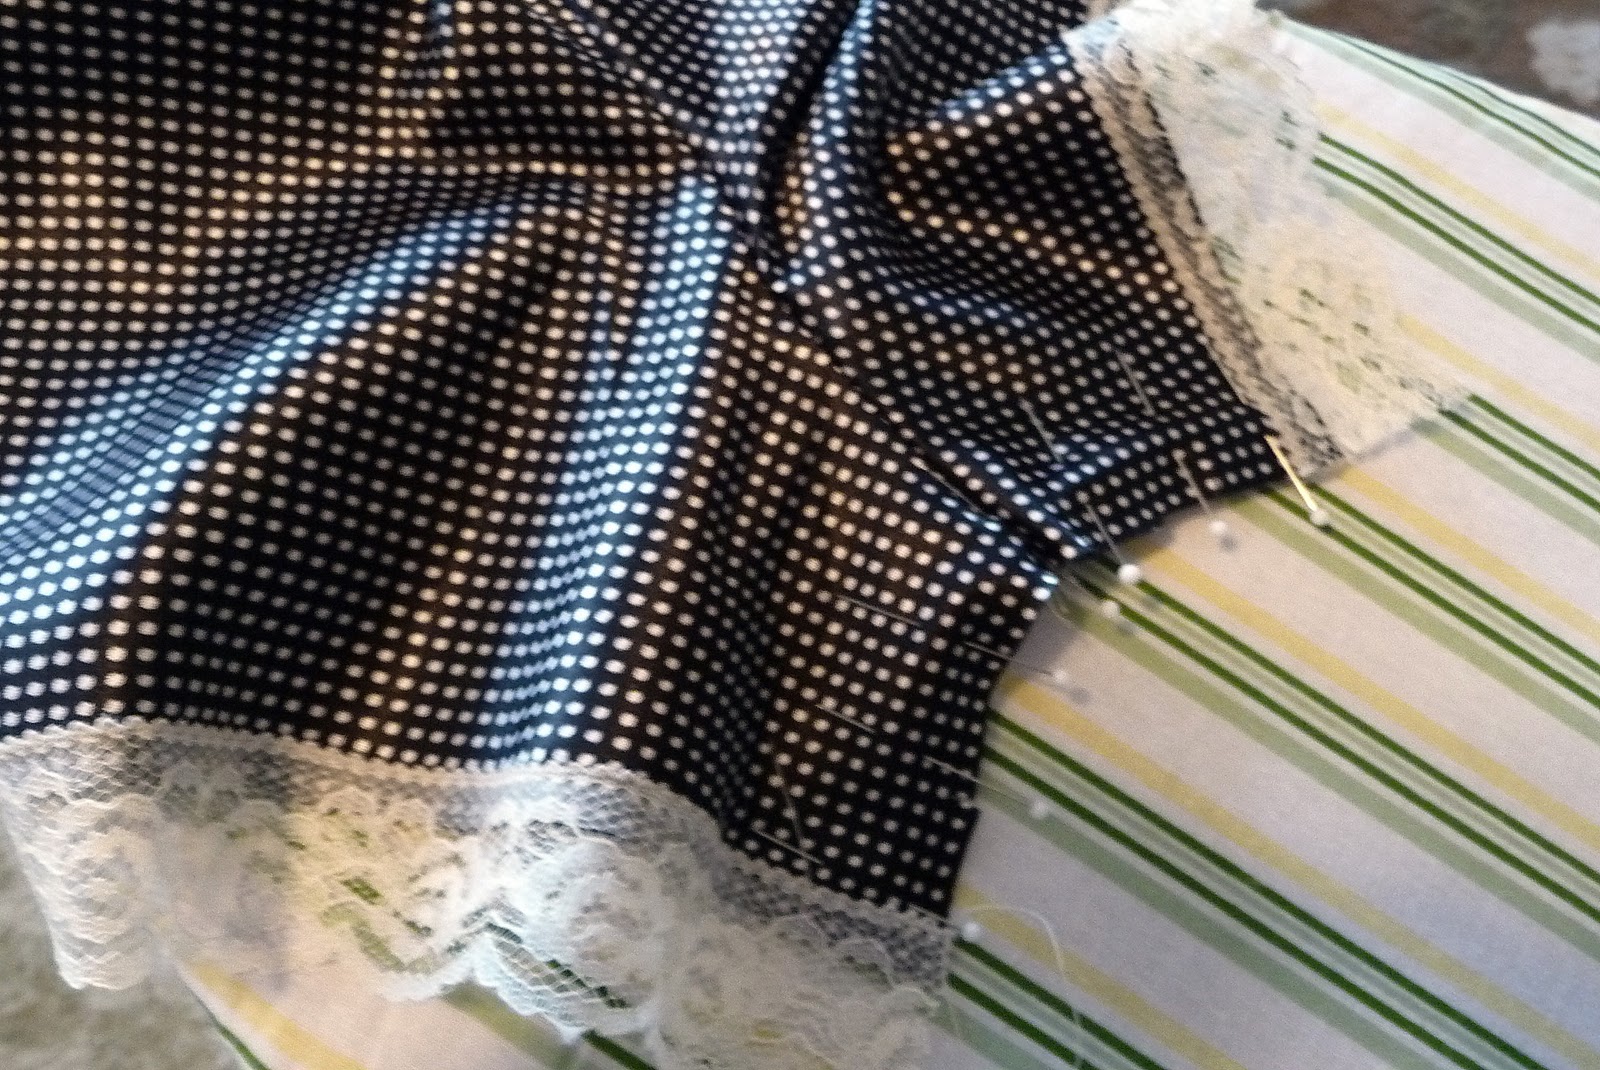
Aaaaaaaaanyway, now you make another 1/4 inch seam, with fabric pinned RIGHT sides together, and enclose your edges inside that tube you're making, as you sew....
Here's the crotch of the tap pants, with my two french seams meeting in a third french seam... see how I pressed them in opposite directions before I sewed them together? That helps take a bit of the bulk out of the seam, making it smoother...
Now, why go to all that trouble? First, it'll help the garment last longer... an exposed seam will unravel a bit every time you wash it, ESPECIALLY on fine fabrics and silks, they're slippery fibers... and you're gonna wash undies a LOT. Second, it feels smoother against your skin, and this garment is worn right next to your skin! Third, it's so pretty!!!


No comments:
Post a Comment